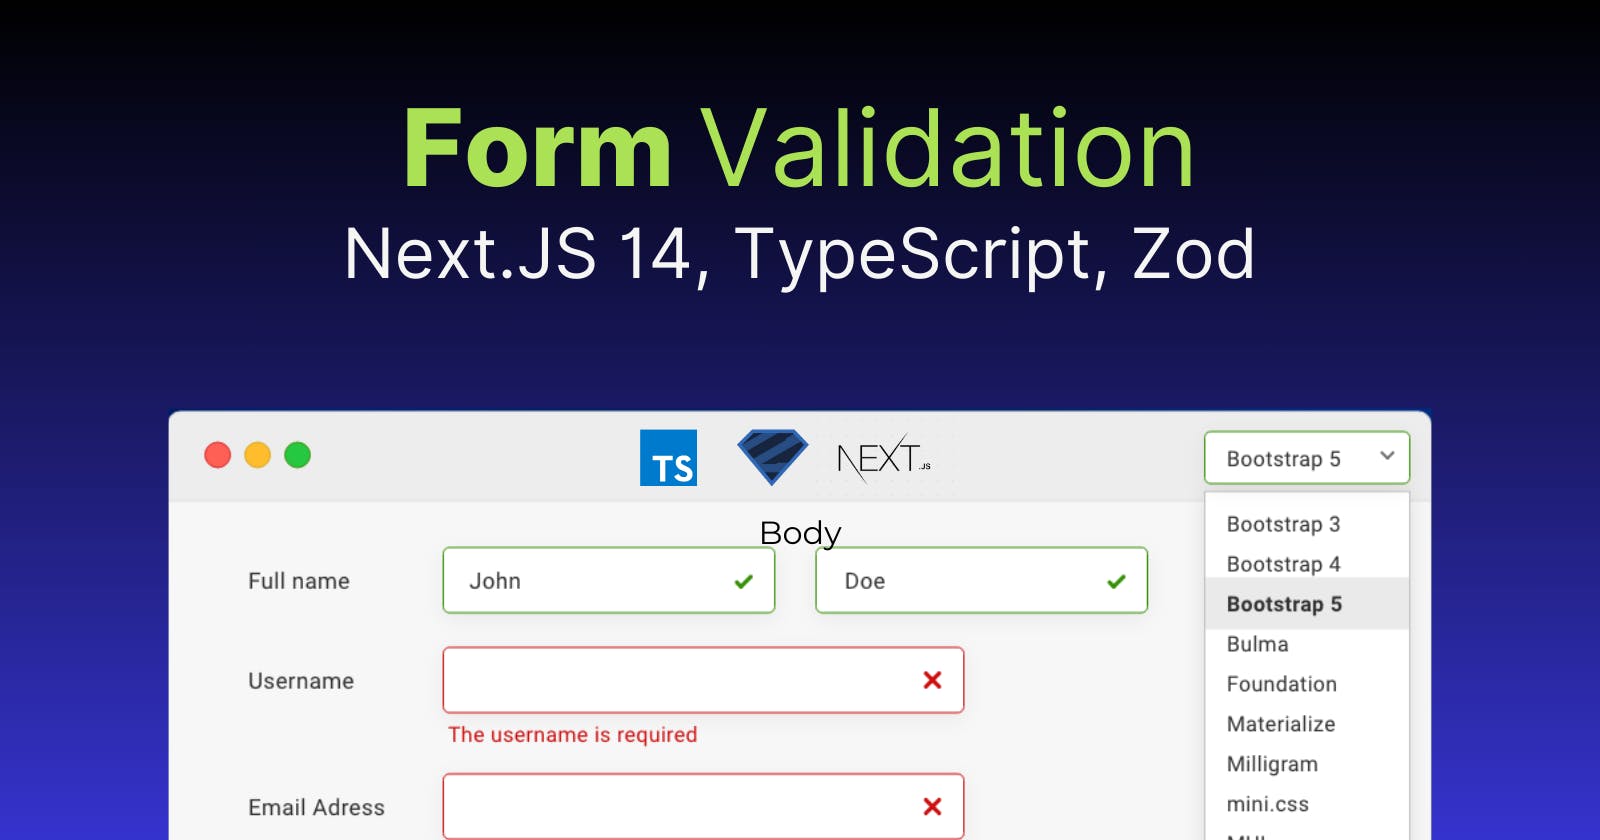
Validate forms with NextJS 14, typescript, and Zod
Elevate your form security and user experience. Learn how to implement robust form validation in Next.js 14 with the help of TypeScript and Zod.
Next.js 14, with its emphasis on efficiency and developer experience, makes an excellent platform for developing modern web apps. However, ensuring user input validity is critical to providing a satisfactory user experience. This blog article discusses a powerful combination for form validation in Next.js 14: TypeScript for type safety and Zod for declarative schema validation.
Why validate forms?
Unvalidated user input can lead to a cascade of problems:
Security vulnerabilities: Malicious users may inject code into forms, compromising the security of your application.
Data integrity issues: Invalid data might disturb your application's logic and result in unexpected behaviour.
Poor user experience: When users input invalid data, they receive errors, which causes annoyance and wastes time.
Form validation helps prevent these issues by ensuring user input adheres to predefined rules.
Introducing TypeScript and Zod.
TypeScript:
Adds type annotations to your code, enhancing code readability and maintainability.
Catches potential type errors at compile time, preventing runtime issues.
Zod:
A popular TypeScript-first validation library.
Allows you to define declarative schemas for your form data.
Provides clear and concise error messages when validation fails.
Let's see how these tools work together in Next.js 14.
Building a validated form component.
Here's a basic example of a validated form component with Next.js 14, TypeScript, and Zod:
1. Define Form Schema with Zod:
// src/schemas/formSchema.ts
import { z } from "zod";

export const formSchema = z.object({
  name: z.string().min(1, "Name is required").trim(),
  email: z.string().email("Invalid email address"),
  message: z.string().min(10, "Message must be at least 10 characters"),
});
This code defines a Zod schema named formSchema. It specifies the expected data types and validation rules for each form field.
2. Create a Form component:
// src/components/ContactForm.tsx
import { useState } from "react";
import { formSchema } from "../schemas/formSchema";

interface FormData {
  name: string;
  email: string;
  message: string;
}

const ContactForm: React.FC = () => {
  const [formData, setFormData] = useState<FormData>({
    name: "",
    email: "",
    message: "",
  });
  const [errors, setErrors] = useState<Record<string, string>>({});

  const handleChange = (event: React.ChangeEvent<HTMLInputElement>) => {
    setFormData({ ...formData, [event.target.name]: event.target.value });
  };

  const handleSubmit = async (event: React.FormEvent<HTMLFormElement>) => {
    event.preventDefault();
    try {
      const parsedData = formSchema.safeParse(formData);
      if (!parsedData.success) {
        setErrors(parsedData.error.format());
        return;
      }
      //  Handle successful form submission (e.g., send data to server)
      console.log("Form submitted successfully", parsedData.data);
    } catch (error) {
      console.error("Error submitting form:", error);
    }
  };

  return (
    <form onSubmit={handleSubmit}>
      <div className="form-group">
        <label htmlFor="name">Name:</label>
        <input
          type="text"
          id="name"
          name="name"
          value={formData.name}
          onChange={handleChange}
          className={errors.name ? "error-input" : ""}
        />
        {errors.name && <span className="error-message">{errors.name}</span>}
      </div>
      <div className="form-group">
        <label htmlFor="email">Email:</label>
        <input
          type="email"
          id="email"
          name="email"
          value={formData.email}
          onChange={handleChange}
          className={errors.email ? "error-input" : ""}
        />
        {errors.email && <span className="error-message">{errors.email}</span>}
      </div>
      <div className="form-group">
        <label htmlFor="message">Message:</label>
        <textarea
          id="message"
          name="message"
          value={formData.message}
          onChange={handleChange}
          className={errors.message ? "error-input" : ""}
        />
        {errors.message && <span className="error-message">{errors.message}</span>}
      </div>
      <button type="submit">Submit</button>
    </form>
  );
};

export default ContactForm;
This component:
Defines a
FormDatainterface to represent the expected form data structure.Uses the
formSchemafromsrc/schemas/formSchema.tsfor validation.Handles form submission using
handleSubmit.Utilizes
formSchema.safeParseto attempt validation and retrieve any errors.Updates the
errorsstate to display clear user messages if validation fails.Conditionally render an error message element (
span) with theerror-messageclass only if there's an error for that specific field. The message content is pulled from the corresponding key in theerrorsobject.
This approach provides a basic structure for displaying validation errors next to the relevant form fields. You can further customize the styling and error message presentation to match your application's design.
Benefits of this approach.
Type Safety: TypeScript ensures adherence to defined data types, reducing runtime errors.
Declarative Validation: Zod's schema-based approach simplifies validation logic.
Improved User Experience: Clear error messages guide users towards providing valid input.
Maintainable Code: Separation of concerns between form logic and validation.
That's wrap.
If you enjoyed this article, please like it and let me know in the comments what topic you would like to see in the next article.
You can reach me via X or LinkedIn.
Goodbye👋
